One of the many great things about having an adorable niece is that I get to use her as my guinea pig for new sewing projects. Reagan's been my little model for several of the designs over at the Whatta Cute Baby! collection and even my inspiration for a few new items (that will hopefully be launched this summer). And when I'm not trying out new products on her, I'm increasing my seamstress abilities by making her cute new clothes!
My sister-in-law and I had seen pillowcase dresses online and she asked if I could make some for Reagan. Of course, I couldn't pass up the opportunity to combine my love for cute fabric, sewing and dolling up that sweet little niece of mine! When made correctly, the pillowcase dress should function as a dress this summer and as a cute little shirt next summer. The idea behind the pillowcase dress is to trim up a pillowcase, add some ribbon and slip on your favorite little cutie for a sweet little sun dress. Well, since Reagan's still just a baby, and because cute fabric is way better than a pillowcase, I went on the hunt for the perfect fabric to make this happen!
My first attempt actually turned out ok. There were a few things I wish I had done differently, but overall, it looked cute enough and actually stayed on her, so I couldn't complain! Well, on my second attempt, I thought I'd document it and share with any of you Simple Girls who might want to give this a shot.
**I am not a professional. My cuts aren't always exact. My seams don't always match up. My stitches aren't always perfectly straight. The terms I use are probably not technical sewing terms. If you're expecting perfection in the sewing department, you should avert your eyes!**
Please note that all measurements in this tutorial are for a dress for a 7 month old. If you are making dresses for older girls, you will need to increase the measurements as needed.
For this project you will need:
*Iron & Ironing Board
*Measuring Tape
*Good Scissors
*Straight Pins & a Safety Pin
*Coordinating Thread
*1 Yard of Cute Fabric
*2 Yards of Coordinating Ribbon (7/8" Ribbon works best for smaller children)
*Optional: Approx. 40" of Bias Tape
First, you'll need to cut your fabric. I cut a piece that was 31"x21". (If you choose to make your own bias from fabric, you'll also need to cut 2 strips of fabric that are 20"x3". Instructions on how to make your own bias tape are located below.)
Heat up your iron and begin pressing your hems. Unless otherwise stated, you can assume that I turned the fabric twice before sewing for a more finished hem. Also, I always iron and sew one hem at a time so that I don't get too distracted and forget what I'm doing.

I created a 1/2" finished hem on the bottom (long side of the fabric). Then, I created a 1" unfinished hem on the top (the other long side of the fabric). At this point, you should have a rectangular piece of fabric in which the 2 longest sides have been hemmed.
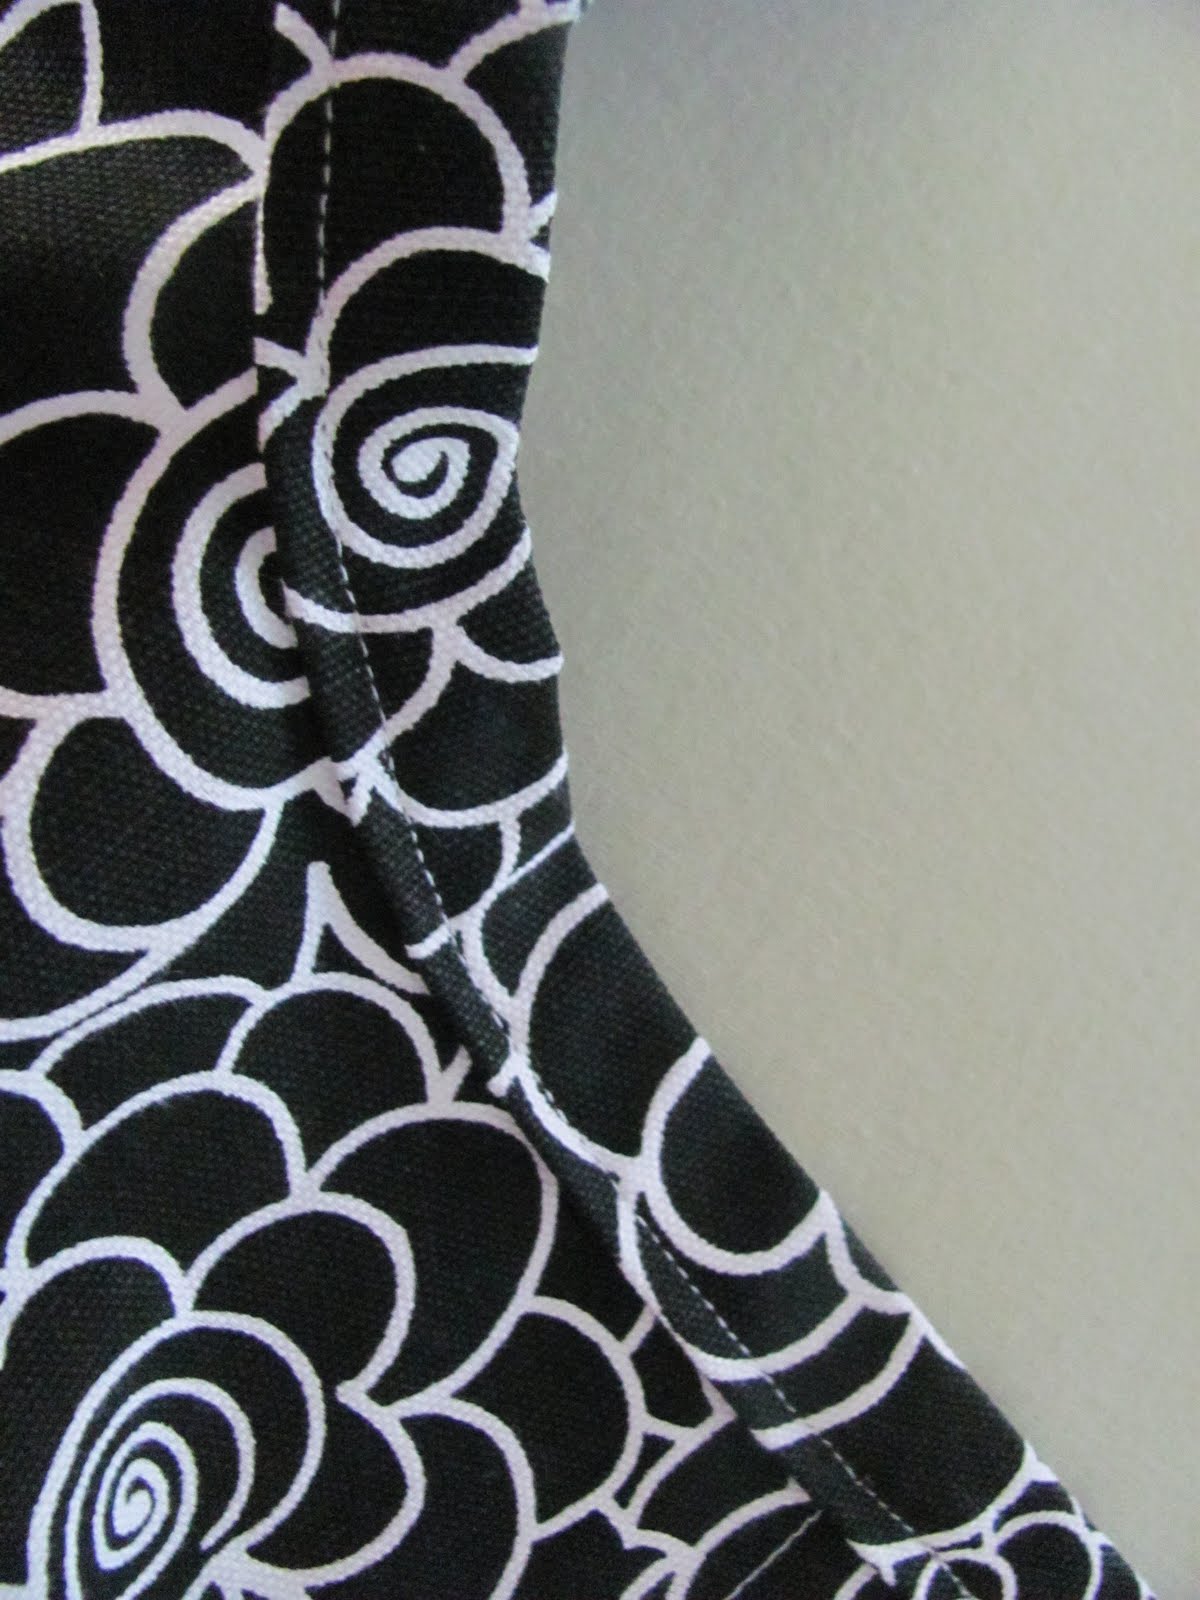
Next, you will need to sew the short sides together. I used a French seam for this side to keep it from fraying. (You can find a number of tutorials for French seams on YouTube.) Now, you have a big tube of fabric.

The next step is to cut the holes for the arms. Lay the fabric flat (so that the side seam is either to the left or right and not in the middle) and then carefully fold in half. You're going to want to make sure your fold is as straight as can be or else the arm holes will end up being crooked.
With the fabric folded in half, you'll only have to make one cut but will get 2 arm holes. You can determine the size of the arm holes you'll need. Cuts that are about 5"x 2.5" should work for a baby dress. Cut a sort of "J" with those measurements in mind.

When you open up the dress again, it will look like this:

If you plan to make more than one of these dresses, I would suggest that you save the arm hole piece that you cut out. This will give you a guide for the next time.

To keep the arm holes from unraveling, you'll need to make or buy bias tape. Here's how to make your own.
Cut your 2 strips of fabric (20"x3") and iron flat.

Next, fold both pieces in half and iron again.

Unfold the piece of fabric. Fold one long side at a time into the middle crease and iron.

Once you have both long sides folded in, be sure to iron again.

Fold the long sides together, and use the iron to create a good crease.

Place your bias tape over the arm hole fabric so that in encases the unfinished fabric. Start at one side and work your way around, pinning in place as you go.

Once you have pinned the bias tape in place, it should look something like this:

Then, sew carefully around the bias tape to secure it to the dress. Try to sew as close to the open edge of the bias as possible. If you have extra bias tape at one end, wait until after you've sewn it on to cut off the excess.
Next, you need to create a pocket for the ribbon. Fold the top of the dress down and create a picket big enough for your ribbon. Since you have the unfinished top hem from earlier, you won't need to create an additional finished hem here. (For a 7/8" wide ribbon, I created a 1.5" pocket.) Press with an iron and pin before sewing.

Cut your ribbon so that you have 2 pieces that are 1 yard long.

Attach a safety pin to one end of the ribbon and feed it through the ribbon pocket. After you have fed both ribbons through, you can trim the ribbons. Also, I used a lighter to keep the ends from fraying (barely touch the flame to the end of the ribbon).

And, you're finished!! Here's a look at the finished product! Pretty cute, huh?

But not as cute as this!!

If you have questions about any of the steps leave a comment below. If you use this tutorial to make your own dress, we'd love to see it!
Happy Sewing!
-Sarai
If you're visiting from "Oops, I Craft My Pants", thanks for stopping by!